We would like to take this opportunity to extend a hearty welcome to our in-depth walkthrough of the most efficient ways to gather Hellfire Torches on behalf of everyone here at Diablo 2: Resurrected. Hellfire Torches are extremely valuable commodities in the game because they grant the player character a sizeable boost to their overall power and because they can only be obtained through certain quests. In order for you to farm Hellfire Torches in a manner that is both efficient and effective in Diablo 2: Resurrected, the goal of this guide is to provide you with all of the information that you require. We are going to go over the best farming routes, boss farming strategies, as well as offer a variety of tips and tricks to help you get the most out of your loot while minimizing the amount of risk you take in the process. This tutorial will provide you with all of the information you require to become an expert in farming Hellfire Torches, regardless of whether you are an experienced player or are just starting out in the game. This holds true regardless of whether you are a novice who has never played before or a seasoned pro who has played countless times.
In order to successfully farm Hellfire Torches, it is absolutely necessary to have the appropriate equipment as well as the appropriate character build. It is imperative that you design a character that can thrive in high-level areas that have a high occurrence of Hellfire Torches in order to improve your chances of surviving. By doing this, you will be able to give yourself the best possible chance of avoiding death. Character builds such as "Smiter/Zealer" for the Paladin and "Teleport" for the Sorceress are two examples of popular character builds that can be used for farming Hellfire Torches.

When it comes to the quality of their equipment, the paladin is one of the few classes that can still perform adequately despite using items of a lower-than-average quality. This ability allows the paladin to be one of the few classes that has this ability. A high resistance is in your best interest as it will assist you in mitigating the damage dealt by the Uber bosses. This is why it is in your best interest to have a high resistance. Take, for example:Take, for example:In the end, a piece of equipment that is well-balanced will have a total resistance of between 300 and 400 (including the Salvation aura), a crushing blow of 70, some attack speed, and a life tab wand. Additionally, the piece of equipment will have a crushing blow of 70. Apart from that, there is not much else that is essential for you to have at your disposal at this time. There is no point in focusing on items that deal damage because the bosses can be easily defeated with a single crushing blow.
In order for you to enter the Terrors Den, it is going to be necessary for you to have the terror key in your possession. It is possible to farm the key at Countress, who can be defeated in a reasonably short amount of time and with only a moderate amount of effort required by a lightning sorcer. Because there are five levels between you and the countess, it is strongly recommended that you use a character who can teleport in order to complete this task. If you do not use a character who can teleport, you will not be able to reach the countess. When the game first begins, the lightning sorceress is noticeably more powerful than any of the other characters.
In order to gain access to the Hive and enter it, you are going to need the key to hatred. The key can be farmed at the Summoner, which isn't quite as difficult to get to as some of the other locations; however, there are four different alternatives, and there are no sprites to look at, so it's pretty much just a guessing game as to which direction you should go in. In other words, the key can be farmed at the Summoner. You need to maintain as much of a safe distance as possible from the monsters as you make your way to the end of each path and eliminate the summoner who is waiting for you there.
The fact that the only place to get this key is from Nihalitak, a powerful elite monster that is notoriously hard to kill, makes acquiring it a particularly difficult and challenging task. However, a useful piece of advice is to get Monsters slain so that he can rest in peace as his corpse explodes if the thing that makes him difficult to defeat is the explosion that occurs when his body dies. Another piece of guidance that might come in handy is to use the abilities of the Necromancer or Assassin class to perform a corpse explosion on yourself. This can be done in order to heal yourself.
When you have three examples of each key in your possession, you will be able to use them to unlock a portal
The portal will become accessible to you when you have all three keys
Because a random number generator decides which portal you will open, it is strongly recommended that you wait until you have three keysets before attempting to do so
This will give you the best chance of success
You can, however, attempt to do so earlier if you already possess three keysets in your possession
If you have three keysets, this indicates that you will always be able to create a portal that leads to a different location within the same game; however, in order to do so, you will need to open all of the keysets at the same time
If you have three keysets, this indicates that you will always be able to create a portal that leads to a different location within the same game
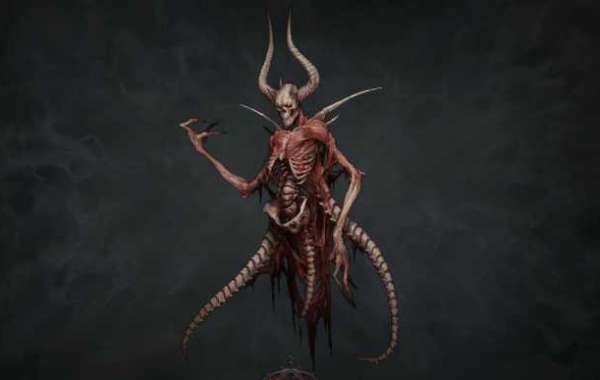
One of the more difficult objectives is to defeat Andariel, who is by a significant margin the most difficult of the minibosses. In addition, prior reconnaissance of the surrounding area is required in order to defeat Andariel. Someone with the ability to teleport should be the one to locate her and set up a townportal for the person who is supposed to be the one to be the one to be the one to be the one to be the one to be the one to kill her. We will be utilizing a smiter paladin for this specific configuration as it best suits our needs.
As soon as the paladin has arrived at the surface of Andarial, he will immediately begin his work by using his wand to cast Life-tab, and then he will immediately get to work. As long as there are not a significant number of other mobs in the immediate area, dealing with her should not be too difficult and should not cause too much trouble. On the other hand, there is not the slightest guarantee in that! Before engaging her in battle, it is a good idea to consume antidote potions because doing so will make you more resistant to the effects of poison. This will make it easier for you to start a conversation with her.
Duriel, one of the mega monsters, is actually one of the bosses that is one of the more manageable fights, which might come as a surprise to some. Does not deal a significant amount of damage, but rather a ticking damage that is annoyingly slow and consistent throughout the fight. This damage cannot be avoided. You should not bring this up because the boss is easy to understand; however, you will still need to maintain your focus on the task at hand and keep close tabs on him at all times. When you emerge from the portal, you will notice that you are standing close to a false waypoint. This is the location that Duriel will be in the vast majority of encounters. He will be in his own company. Engage him in combat and bring him to the ground in a methodical and organized manner. If you are having trouble locating it there, you should look at the map. It is not a difficult task to accomplish one's objectives by making use of the smiter on its own. Before engaging in battle with Duriel, it is strongly suggested that you consume some potions of thawing first. These elixirs provide protection from the cold and can be used to mitigate the effects of his holy freeze aura.